Everything you need to know about Instagram's new long-form video app IGTV

Social media platforms need to roll out updates every now and again to keep up with the rapidly changing times. An algorithm change here, a new feature there, maybe even and upgraded look. It comes with the territory, and whether we like these changes or not, it's not gong to be slowing down any time soon.

Instagram seems to be at the forefront with all these new updates. The updates have been mostly gradual, like adding new stickers to Stories, but on June 20, 2018 Instagram announced a pretty big update: IGTV.

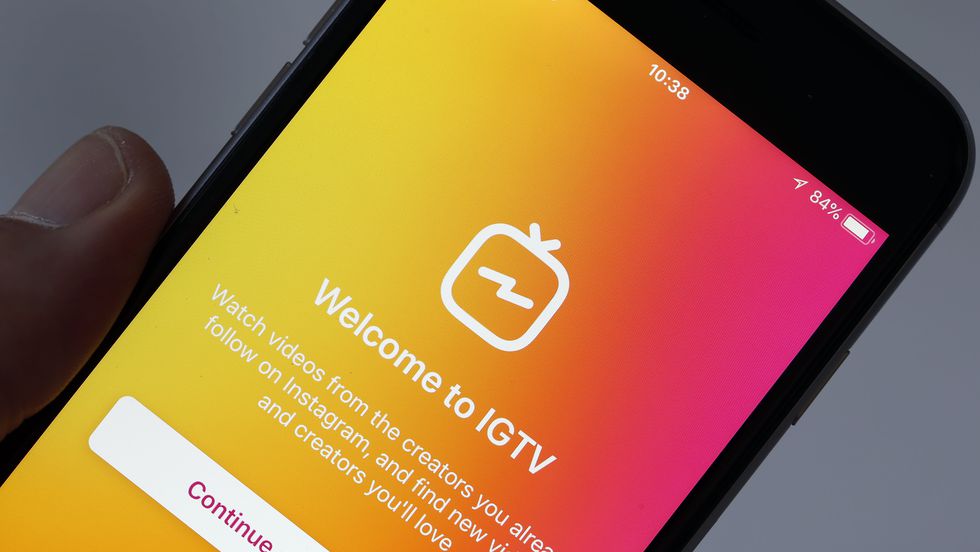
igtv.jpg

What exactly is IGTV?

IGTV is Instagram's new long-form video app (don't worry, it's integrated into your normal Instagram app as well if you don't feel like downloading something new). You can now watch longer content from your favorite Instagram creators (and make your own!). Whereas on the traditional app you can post videos up to 60 seconds long, this new app allows videos up to an hour in length. 

Why is this a big deal?

IGTV is potentially a major competitor for Youtube. Many Youtube creators are struggling to create revenue due to the "Adpocolypse." Youtube's algorithm has been flagging and demonetizing videos it deems as not ad-friendly, causing some serious backlash within the community. Many people rely on Youtube as their source of income, so this blow has been devastating to some. Could IGTV be the answer to this growing problem? Could IGTV become the new Youtube? The possibilities seem to be endless with this new Instagram feature.

What kind of content do you post on IGTV?

Whatever you want! The 60 minute time limit ploughs a new way for creative expression. You could create hour long episodes of a series and post once a week, just like actual television; or you could post a step-by-step of your most recent DIY project; you could also try posting a hilarious new comedy sketch. Brands are only limited by their own creativity when it comes to original content.

How do you create a channel?

It's simple! All you have to do is click the new IGTV symbol in the top right corner of your Instagram app, tap the little gear icon next to the search bar, then click create channel! There will be an informational slideshow explaining IGTV, then all you have to do is tap "Create Channel" and voila! You now have your very own IGTV channel!

PC: tomsguide.com

PC: tomsguide.com

PC: tomsguide.com

PC: tomsguide.com

IGTV could be absolutely huge. It could be a game changer in digital media, and it could grow very quick. All we can do now is use it and see what happens! What do you think of IGTV? Do you think it'll beat out Youtube? Let us know in the comments section below!

Follow this checklist to post a photo to your business Facebook page

You know everything there is to know about Instagram business accounts. You're thriving and business is doing well over there. But you want to reach more people, so you head over to Facebook to reach a wider audience. This isn't a blog about creating a Facebook account for your business (though we do have one here if you want to check it out), this is a blog about the visual aspect of things: Posting pictures.

People often think of Instagram as the visual social media platform. And it mostly is. But posting pictures is still a vital aspect of your Facebook business page, since human beings are inherently visual creatures. Quality images are an effective way of capturing the attention of your audience.
So here's a basic rundown:

1. First choose a great picture to showcase your business! Simple as that!

2. Go to your page, then scroll down until you find the "Write a post" box. There should be an option that says "Photo/Video." Click it.

Screen Shot 2018-07-19 at 12.12.11 PM.png

From there a menu that looks like this should pop up:

Screen Shot 2018-07-19 at 10.23.58 PM.png

3. From this menu you can choose from a variety of options, it all just depends on what you want to post!

4. Once you click an option, your computer files should pop up and you can choose a picture from there! Just click on it and hit "Open!"

Screen Shot 2018-07-19 at 10.29.00 PM.png

5. Now you can write a caption! Make it good and relevant to the photo!

Screen Shot 2018-07-19 at 10.30.48 PM.png

6. You can then choose whether you want it posted to your News Feed, your Story, or if you want to post it to Instagram as well.

7. Hit "Share Now" and you've got yourself a picture posted to your Facebook business page!

It's such a simple task, but it's so important for your business! Facebook will open new windows for your brand and be a major help in growing your audience. Do you want more simple Facebook tips? Check out this blog post on how to use Facebook Messenger for your business!

A Step-By-Step Guide on How to Post a Photo to Your Instagram Feed

Now that you have your Instagram Business page all set up, you're going to need some pictures to fill your profile up! It's important to showcase your best work on Instagram, and make sure they're relevant to your brand. There are several blogs and articles explaining how to make a cohesive Instagram Theme, and we even have an article teaching the difference between posting on your Instagram Story versus your Instagram Feed. But we're not going to get too much into that today. Today we want to go back to basics. Here is how to post a photo to your Instagram Feed:

1. Take a photo: It's a simple process! Whether it be with your own external camera, or with the camera in Instagram, you've got to take a picture before you can post it!

2. Upload your photo: Once in Instagram, you'll see a menu bar at the bottom of the screen. Right in the middle should be a little plus sign inside a box. Tap on that and it'll bring you into Instagram's camera. You can either take the picture right then and there and move on to the next step. 

IMG_2546.jpg

Tap on that and it'll bring you into Instagram's camera. You can either take the picture right then and there and move on to the next step, or you can choose a photo from your camera roll by clicking "Library" in the bottom left of the screen.

IMG_2547.jpg

Just click the next button and voila, you're on your way to posting your picture!

3. Edit your photo: From there you can now start editing your photo so it's consistent with your branding and style. Instagram has a selection of filters you can add on to your picture to make it look that much better!

IMG_2548.jpg

Not a fan of any of the built in filters? No need to worry, they also have manual tools so you can adjust and fiddle with brightness, sharpness, highlights/shadows (and more), until it's just the way you like! Take a minute to edit the photo the way you want it to be.

IMG_2549.jpg

4. Add the finishing touchesYou're almost done! From here you can write your caption, tag people, tag locations, and choose which other social media platforms you want to post your picture to. 

IMG_2550.jpg

5. Share your photo: The final step is pretty easy! All you have to do is click "Share" in the top right hand corner, and you have officially posted your photo on Instagram!

It's an incredibly simple and user friendly process, and you'll be Insta-famous in no time (not guaranteed)! What was/will be the very first picture you post/ed on Instagram? Let us know in the comments!